If you’re an expat in Central America some things seem more difficult than back in your home country. Here Mick O’Connor offers a step-by-step guide to picking up a package from the post office in El Salvador.
In most places I’ve visited or lived in it’s been easy to receive packages and gifts from home or wherever.
In most places, you receive the package by mail, delivered to you by the post office.
But in El Salvador, it’s not always that simple.
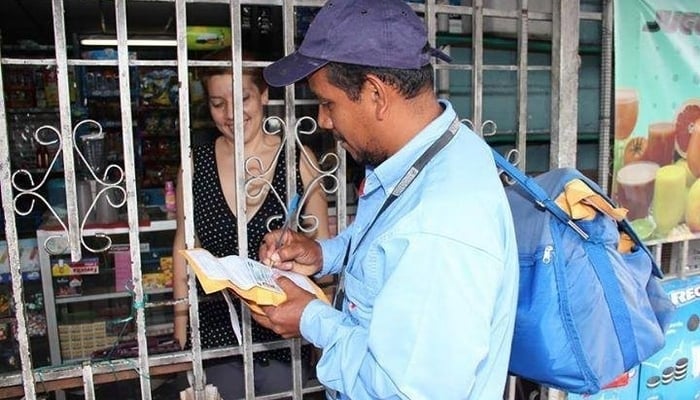
To receive an international delivery, you need an NIT – Número de Identificación Tributaria – which is your tax registration. Without this registration, you can’t receive packages from abroad.
Once you have that, you go to the post office’s customs room to fill out forms and submit enlarged copies of your NIT, your passport, and proof of your address. Once this complete you can receive international packages.
They also need a packing list, that somehow you have to have with you for collection, and also an invoice in Spanish.
So if you receive a package from a country where few people speak Spanish, it can be a trifle difficult.
If the package is of a low value, this isn’t an issue and the post office delivers it to you at a cost of $6. But if it is of a high value, then customs get involved and you get a notification (now by text message, as the video below describes) to go to the post office to bring whatever is missing.
In today’s case “whatever is missing” was the packing list.
I am not sure how the receiver of a package would have a packing list.
In usual circumstances, the packing list comes with the package detailing what’s inside. Also also, usually, the packing list is in the language of the originating country. Which in my case would be English.
And without knowing who’d sent the package I had no idea what was inside and no way of asking. Welcome to El Salvador!
Below is a step-by-step guide to picking up a package from abroad in El Salvador.
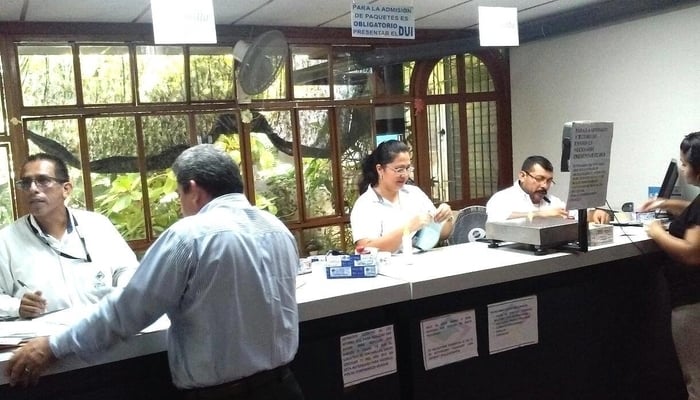
Step 1: Arriving at the post office.
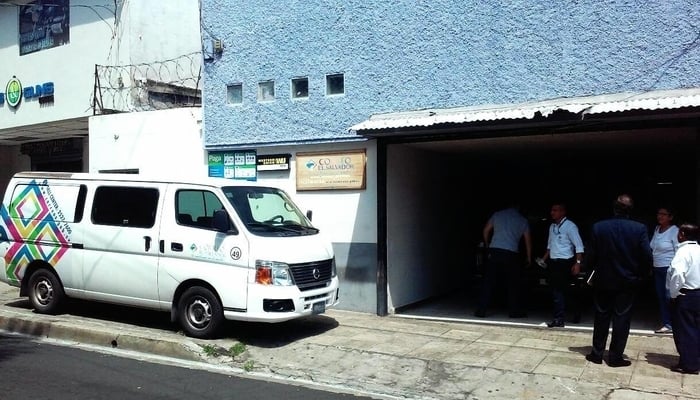
I arrived at the parcel pick up counter at the post office in San Salvador with my piece of paper notifying me I had a package. Ten minutes later I got another piece of paper with instructions to go to the customs office. They were the ones who had my package.
Step 2: The packing list conundrum.
At the customs office, they asked for the packing list, for a parcel whose origination was still a mystery.
The helpful clerk got the parcel to show me. From what I saw it was a new wetsuit or new fins as I had placed two orders from the same company in the UK.
They again asked for a packing list but this time they wanted the original order or invoice. I did the order online so didn’t have that but I found the invoice stuck to the box.
Step 3: Getting everything copied.
Now I needed to produce my identification.
In most places showing your ID is enough to prove who you are, but here you also have to provide a 150 percent copy of your identification.
So after discovering the packing list stuck to the package, I then had to find somewhere to get a copy of my residency card.
Luckily, close to every government office, there’s a stall with a copier and they’ll photocopy your ID for 25 cents. You just need to search the surrounding area for one.
Step 4. The handling fee.
The next step is to return to the post office and pay the $2.50 handling fee. They stamp your collection notice to let customs know you’ve done this.
Step 5. Getting more copies.
Back in the customs office I then had to supply my NIT along with a 150 percent copy. Hey ho, back out into the street for a copy.
Step 6. Back to customs.
Armed with 150 percent copies of my NIT, my residency card, and my paid-up delivery note, it’s back again to customs.
This time they took me behind the counter to view my package, still insisting I have an original packing list and invoice.
Lucky they let me open the envelopes stuck to the box which contained these documents.
With all paperwork now ready they had me open the box to verify the contents.
It contained a new wetsuit, some dive boots, a rash guard, and some other small diving equipment. They then took the invoice and went off to calculate the duty and taxes.
Step 7. Cash only.
With duties calculated it was off to the customs payment office to pay half as much in duty and tax as the goods were worth, including shipping and insurance.
They wouldn’t accept a card payment but there was an ATM in the room. Once paid it was off back to the customs office for collection.
Step 8. Taking delivery of my delivery.
Again they escorted me behind the counter to collect my package after I’d signed a tax declaration form with my full name, signature, date and time.
After three hours of shuttling between rooms, the photocopy stall, and hanging around waiting I left with my package at last.
I felt very pleased with myself having negotiated this with my limited Spanish. None of the officials I encountered spoke a word of English.
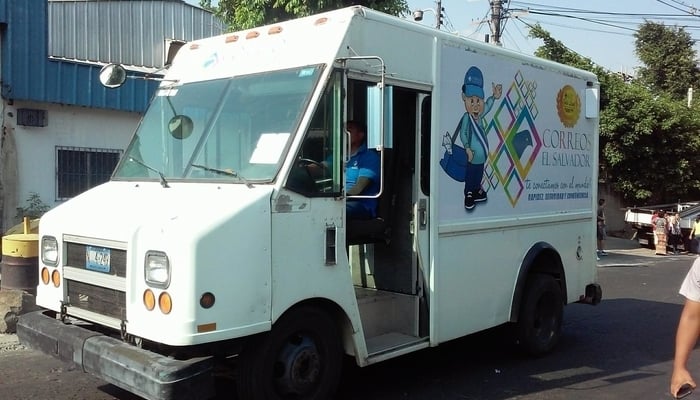
I am grateful for the other customers at customs who helped explain where I had to go and what I had to do.
Also, I’m grateful I picked a day when they were not very busy, otherwise the waiting could have been much longer.
What I learned from this: Always have 150 percent-sized copies of all your documents and expect an avalanche of paperwork and petty bureaucracy when dealing with the government here.
And expect nothing to be simple.
Related:
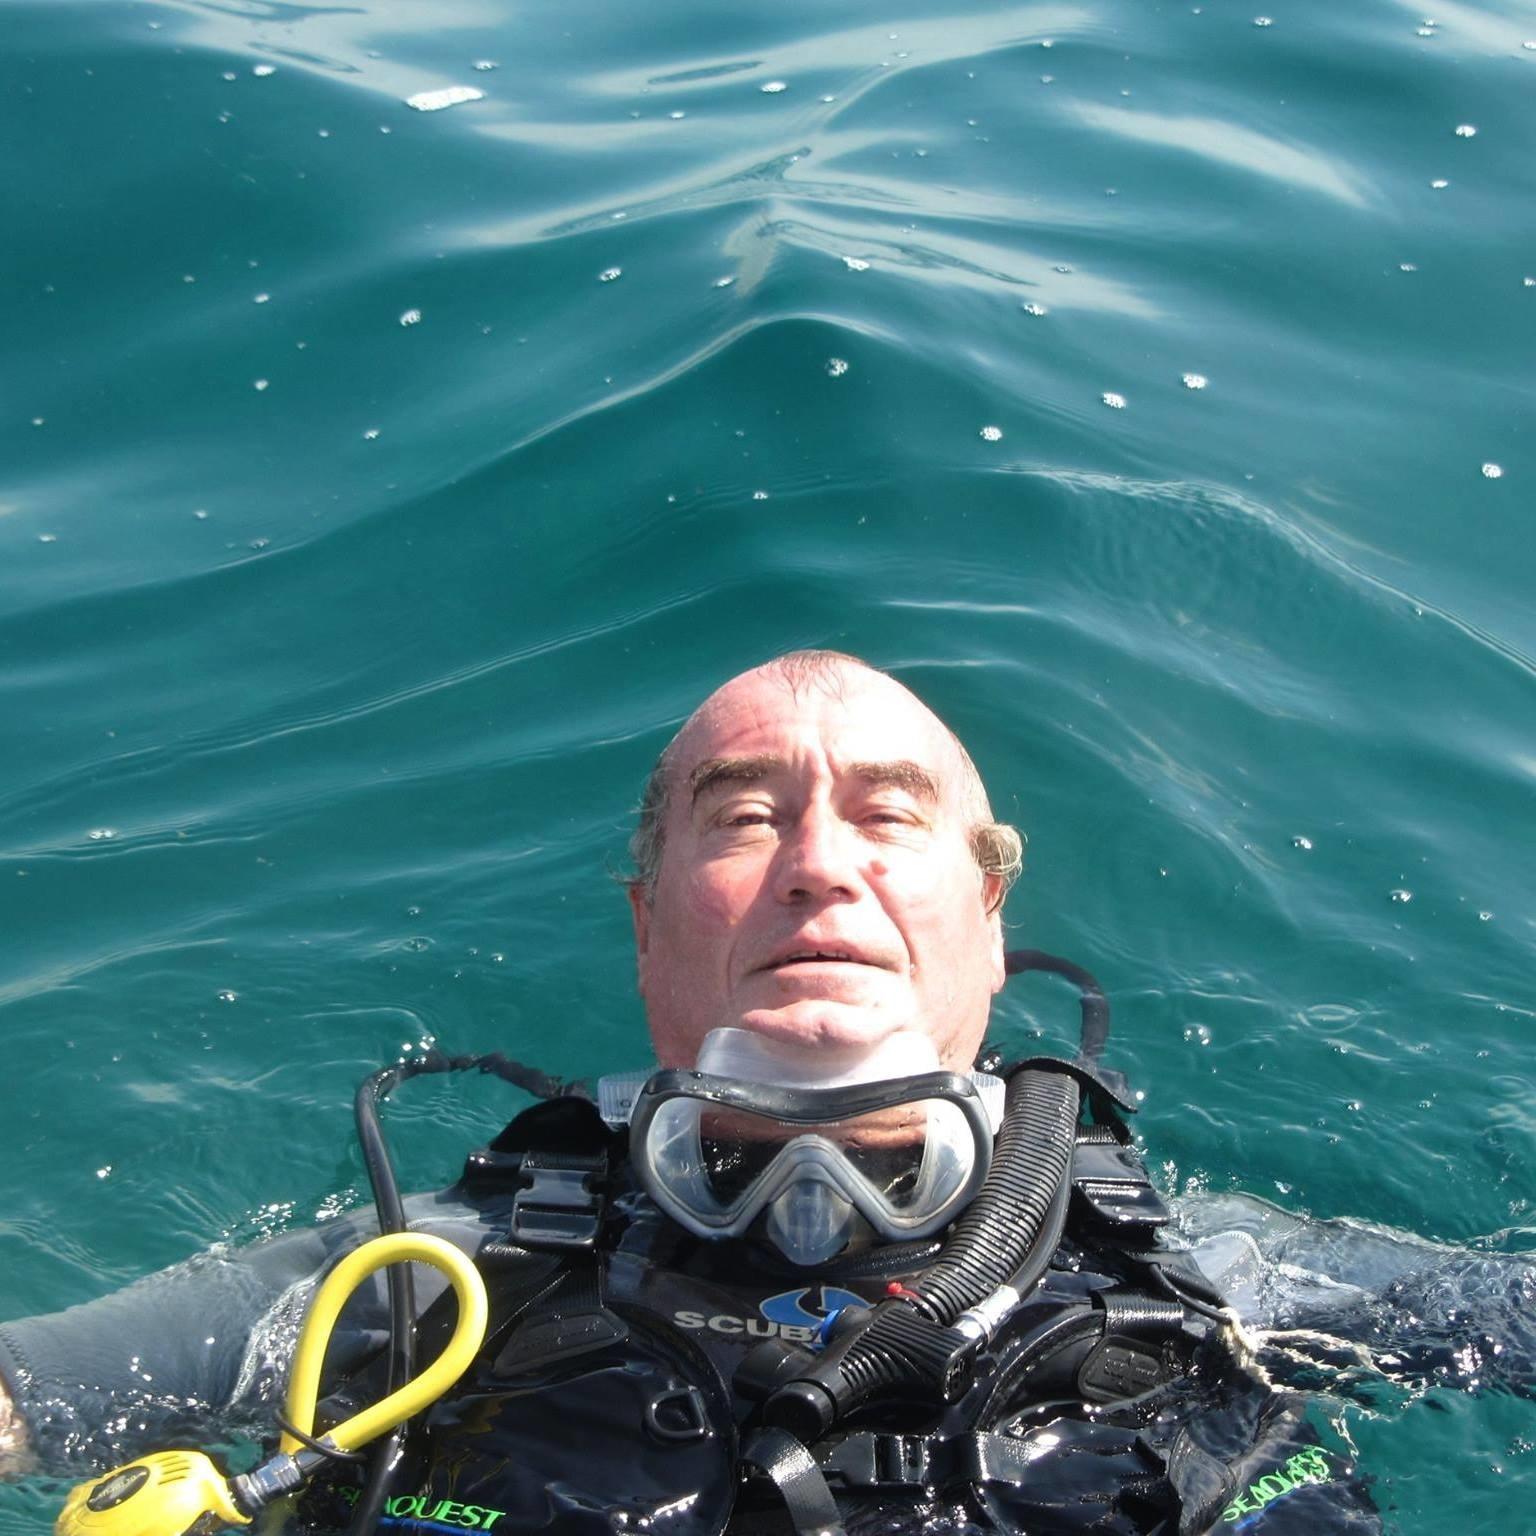
Mick O’Connor is a PADI Master Scuba Diver Trainer from London, England. He moved to El Salvador in 2016 where he now owns and operates El Salvador Divers. He lives in El Salvador’s capital city, San Salvador.
